Albums & Slides
Organize your photo collection using albums and control how slides appear and behave in 3D space.
- Albums are ordered sequences of slides. Use them to create different shows or flythroughs from the same source images.
- Slides are 3D placements of images inside an album. The same photo can appear on multiple slides with different positions and orientations.
Many of the operations below use Edit mode. For an overview of how to enter Edit mode and which tools it provides, see Edit Mode & Tools. For a reference of where album and slide tools appear in the UI, see Menus & Toolbars.
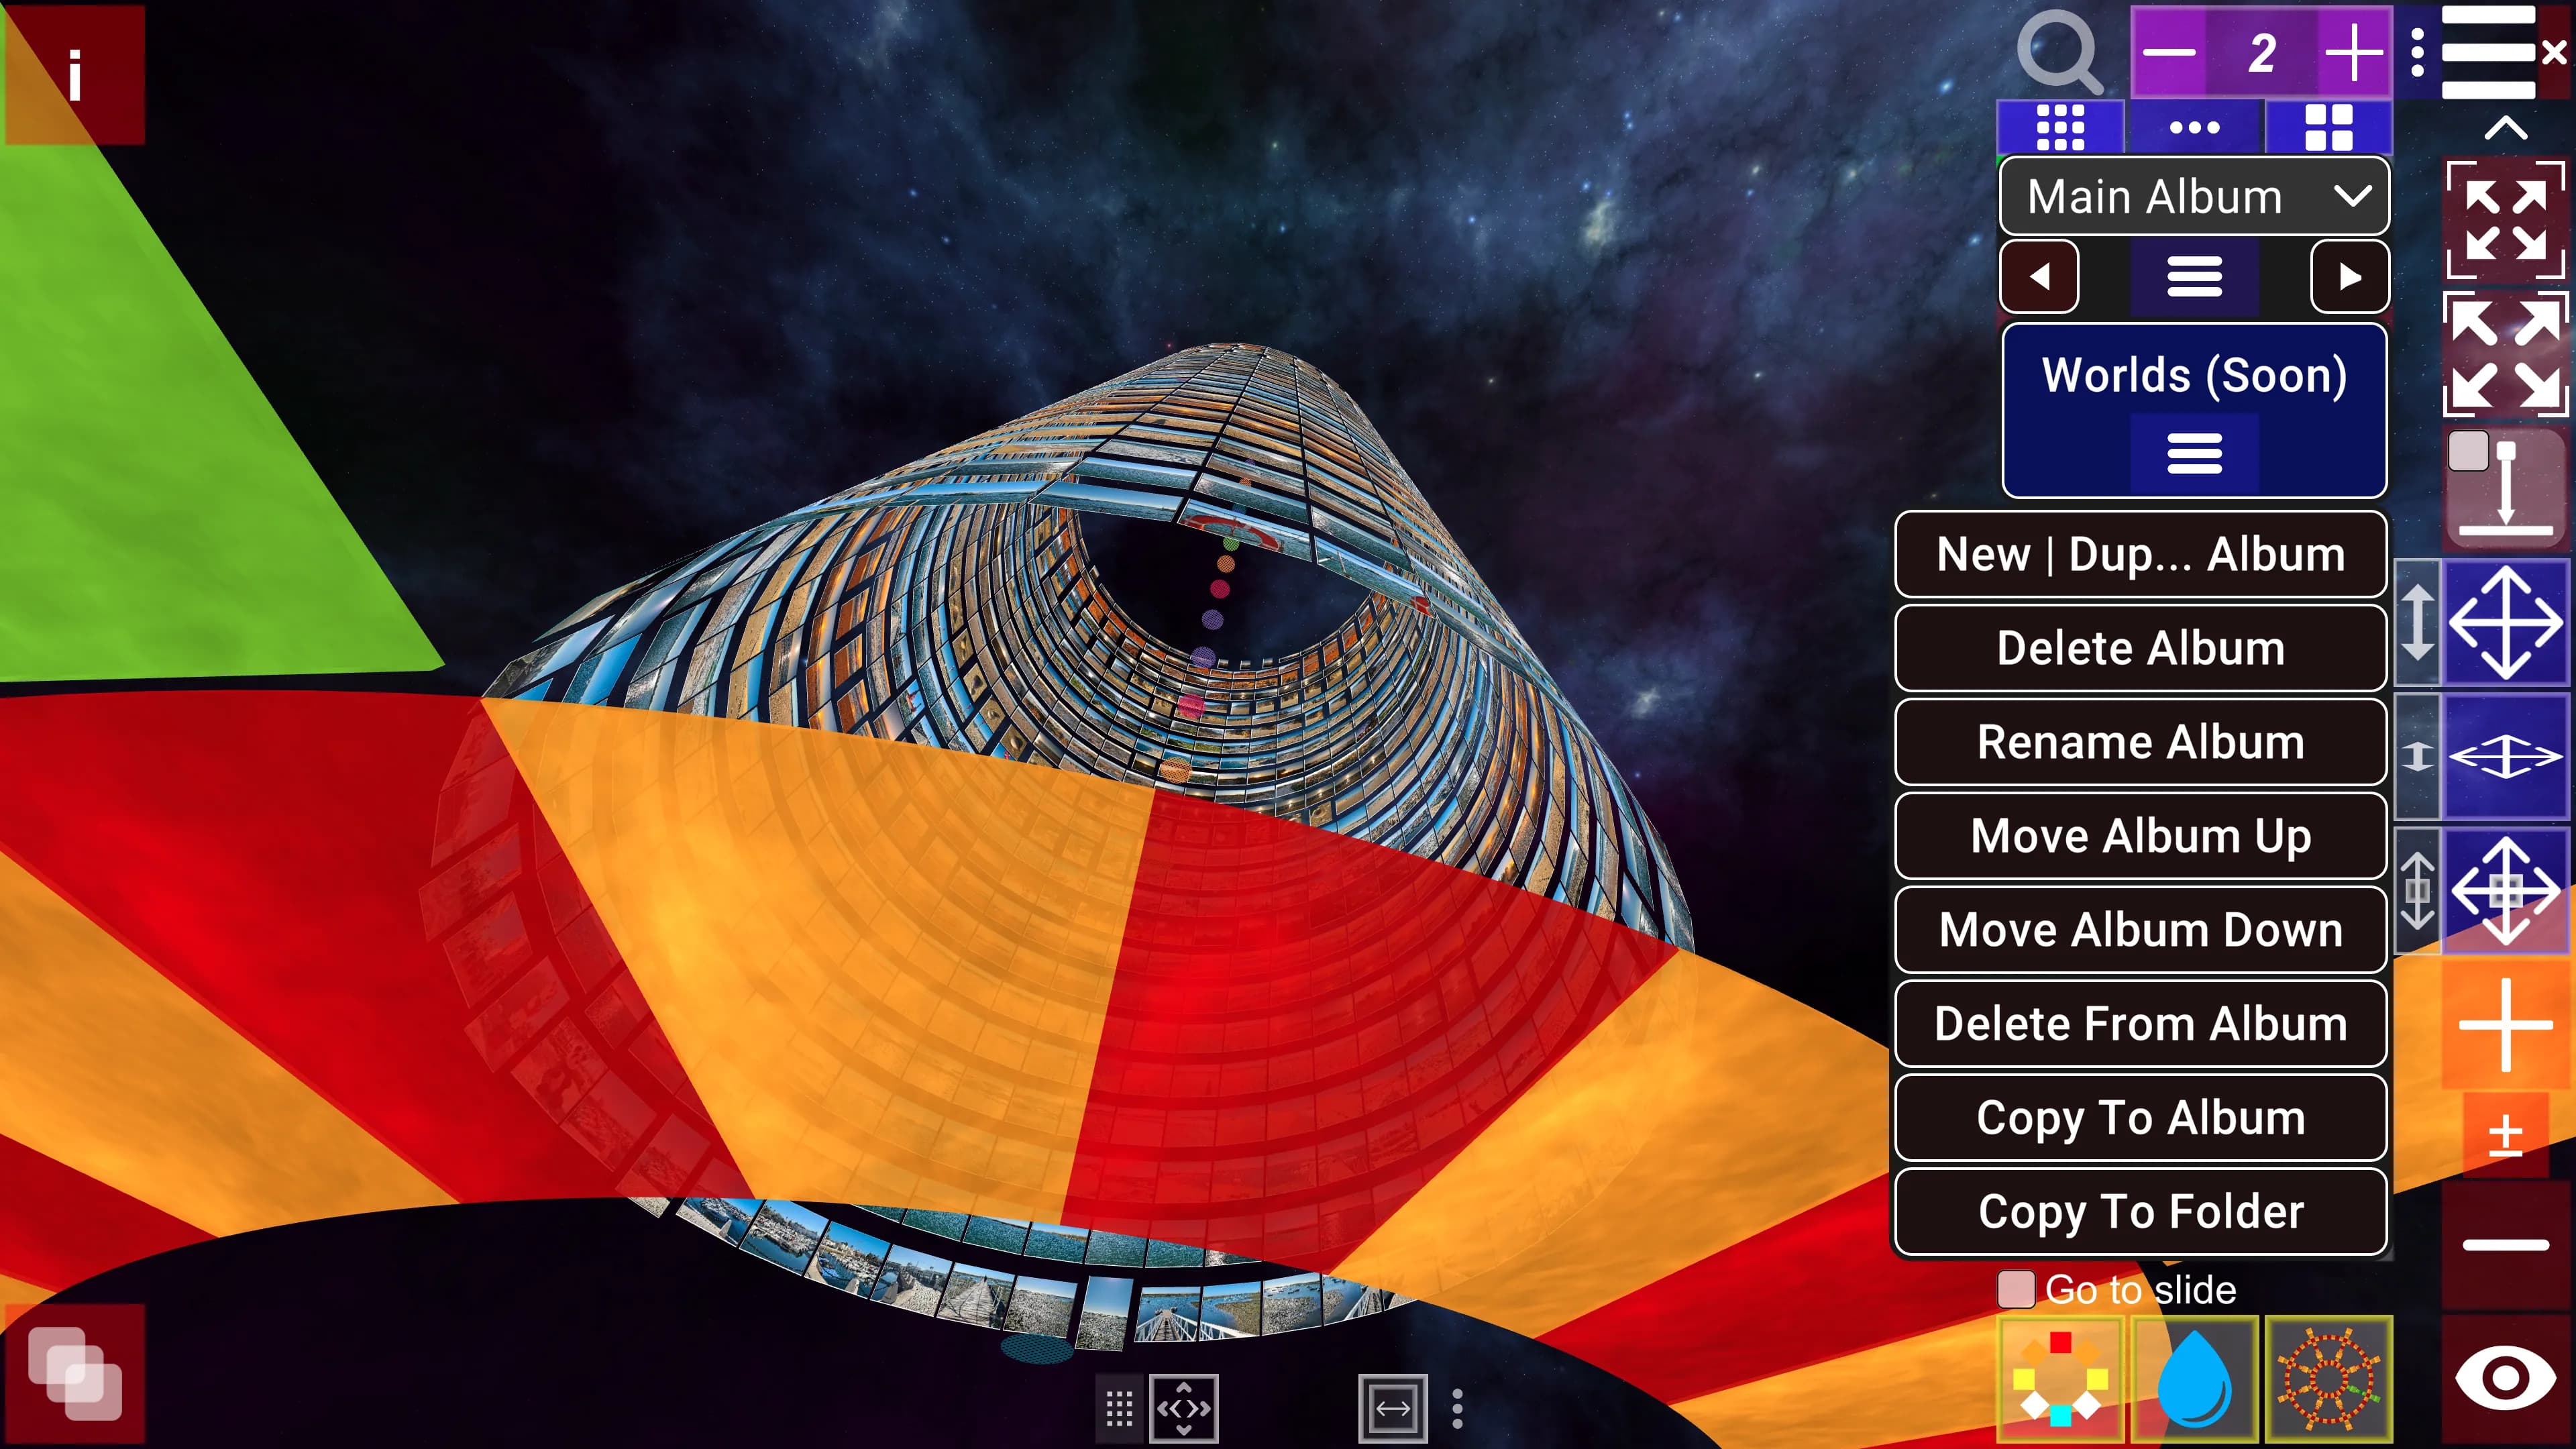
Album Management
Creating and duplicating albums
- Open the album menu or album management controls.
- Choose New Album to create a fresh album, or Duplicate Album to start from a copy of the current album.
- Enter an album name and optional description when prompted.
- Confirm to create or duplicate the album.
Rearranging albums
- Use album menu items such as Move Up and Move Down to change the album order.
Deleting albums
- Select the album you want to remove.
- Click Delete Album.
- Type
DELETEto confirm.
Note: Deleting an album removes all slides in that album. It does not delete the underlying source images or affect slides in other albums.
If you think the source images are no longer needed, you can:
- Delete them manually from disk.
- Use Clean up project in the Save dialog to remove unused files.
- Save the project to an empty folder to create a new project that contains only the files still in use.
Slide Management
Understanding slides and IDs
- Each photo becomes one or more slides in 3D space.
- In views that show multiple slides per image, the same photo can appear on several slide positions.
- Photos have unique image IDs within each media set (image set). Slides reference photos using these IDs.
- Each slide has:
- A position (index) within the album or media set, and
- A transform (position/orientation) in 3D space.
💡 Tip: A slide's ID is not the same as its position (index) in the album. The ID identifies the underlying image within the current media set (image set), while the position tells you where that slide appears in the current sequence.
Within a media set (image set), IDs are numbered from 1 up to that set's image count. When a view or layout reuses the same image ID on multiple slide positions, those positions share the ID but have different positions. You can also import visually identical images as separate IDs; in that case they look the same but behave as different images in the project.
Slides can be copied between albums.
Copying slides between albums
You can copy slides between albums using the Copy to Album... command in the album menu.
- Select the slides you want to copy.
- Click Copy to Album... to open the Copy Slides to Album dialog.
- Choose whether to insert the slides into the existing sequence or replace slides at the target position (options may vary by tool).
- Choose whether to copy a continuous range of slides or only the unique slides as originally imported.
- Choose the destination album and the source and destination slide positions.
- Click Copy to copy the slides.
Deleting slides
You can delete slides using the DELETE SLIDES FROM ALBUM dialog in Edit mode.
To enter Edit mode, click Edit in the main menu (see Edit Mode & Tools for details), then:
- Select the slides you want to delete.
- Click "..." in the Edit toolbar.
- Click Delete Slides... to open the DELETE SLIDES FROM ALBUM dialog.
- Choose whether to delete a continuous range of slides or only the unique slides as originally imported.
- Choose whether to empty the slides or hard-remove them (shifting remaining slides).
- Choose whether to update slide order or preserve existing positioning.
- Optionally modify where to start and how many slides to delete (if the Selection toggle is off), then click Delete Slides.
💡 Tip: You can also delete slides by deleting image sets (media sets). Choose More... from the main menu, then click Next until you reach the Current Image Set Tools dialog. In this dialog you can also rearrange image sets.
Repositioning slides
You can reposition slides while in Edit mode.
To enter Edit mode, click Edit in the main menu (see Edit Mode & Tools for details), then:
- Select slides.
- Use the move controls in the toolbar or viewer to adjust their position and orientation.
- See Navigation & Controls for camera and movement shortcuts that help you reposition slides precisely.
Repositioning slide/photo IDs
Use Rearrange Slide # IDs to clean up how slide/photo IDs are assigned behind the scenes, without changing what you see in the album.
- In Edit mode, click "ID" in the Edit toolbar to open the dialog Rearrange Slide # IDs.
- In the dialog, set the From Slide and Count (or use helper buttons such as Max Slide Range, To End, Include All IDs from or before Slide, or Include All IDs from the First Slide) to define the range of slides to process.
- Click Rearrange IDs to run the optimization.
The tool runs a range‑based global optimization over the affected slides and related scenes: it reassigns slide/photo IDs so that unique images are mapped more compactly and internal positioning data is minimized, while preserving the visible order and appearance of your slides.
Note: Executing Rearrange Slide # IDs clears the Undo/Redo history for this project. You’ll be asked to confirm before the operation runs.
Slide descriptions
You can edit slide information in Edit mode.
To enter Edit mode, click Edit in the main menu (see Edit Mode & Tools for details), then:
- Select a slide.
- Ensure the Description field is visible.
- Edit the Description field.
Next Steps
- Media Sets & Views – Work with multiple media sets.
- Viewing Modes – Slideshow and flythrough.